
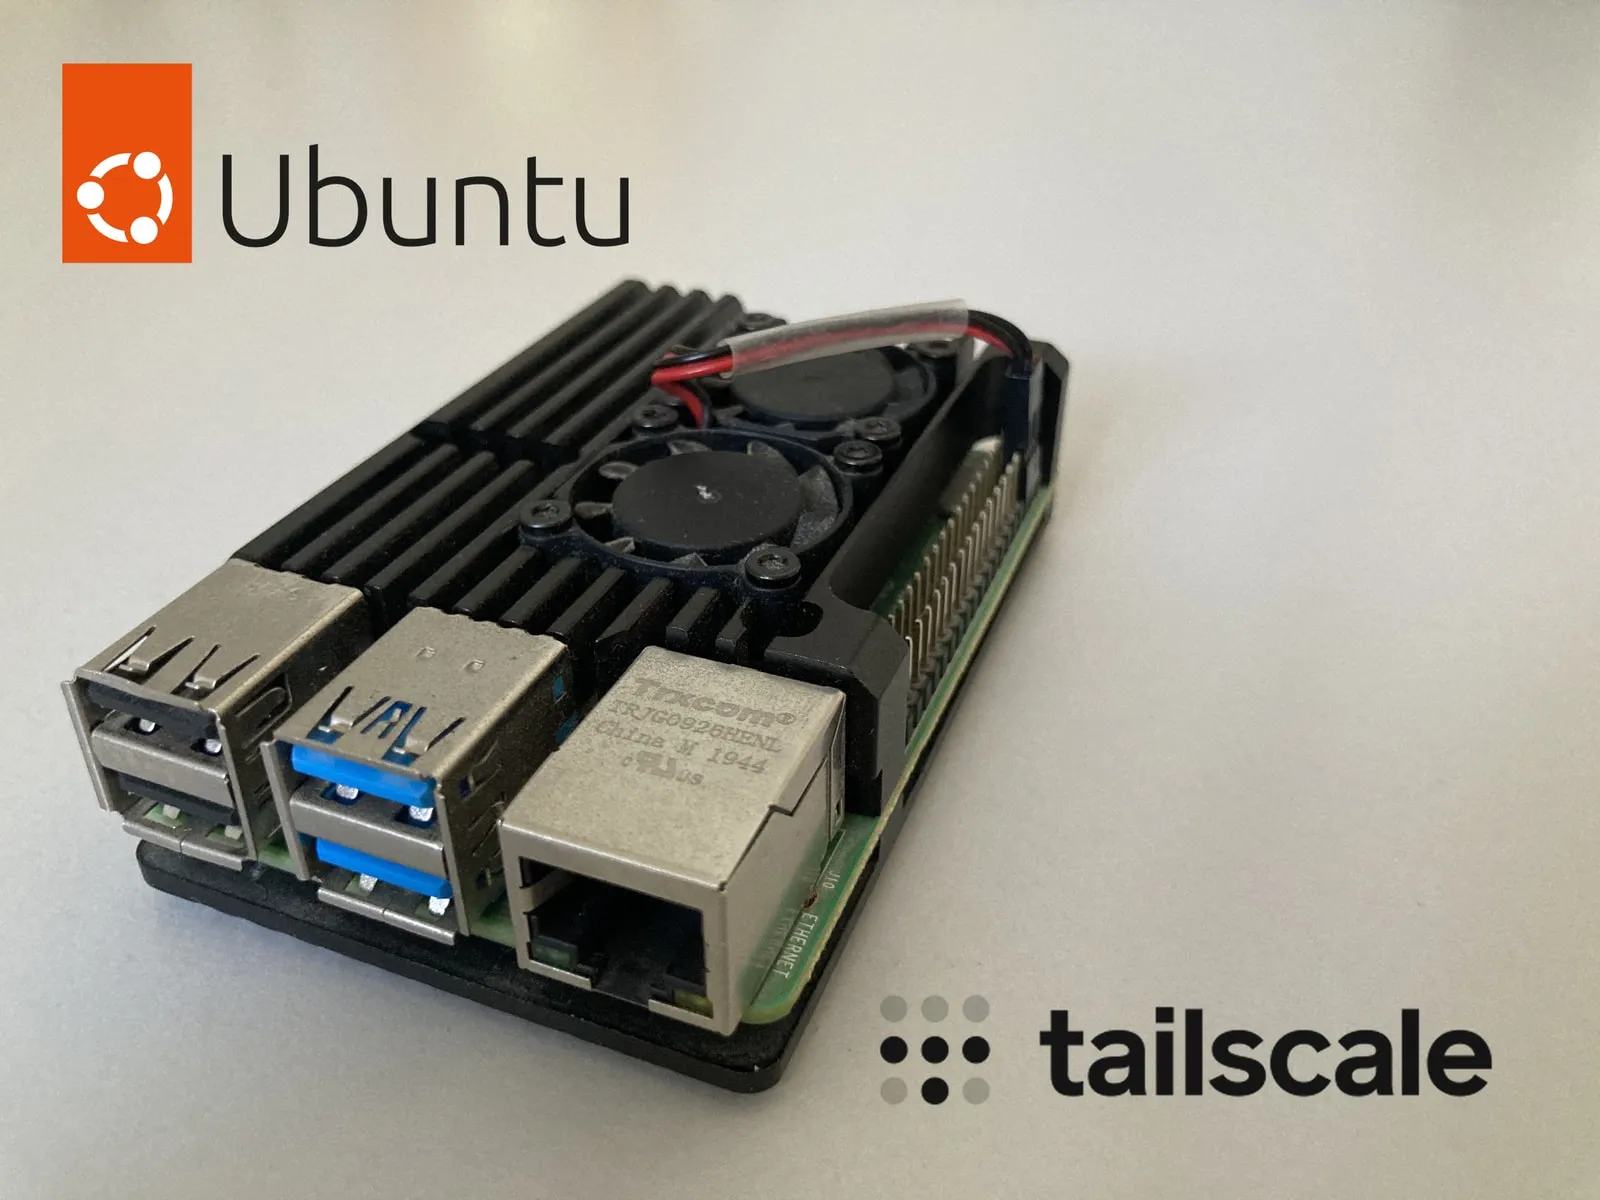
No static IP, no port forwarding, no DDNS. With a Raspberry Pi 4, Ubuntu Server 26.04 LTS and a Tailscale exit node, my home network is now reachable from outside without a single door open to the internet.
Why I needed this
As a network engineer, “remote access” only ever meant one thing to me: something, somewhere, gets exposed. A rule on the firewall, a port on the modem, a static IP somewhere. Access was a hole you opened.
At home, none of the conditions that model needs were true. What I wanted was ordinary enough: a safe way out of public Wi-Fi, going online through my home IP while abroad, reaching the other devices at home. The need was simple. The classic way of building it kept hitting a wall.
The design I had in mind at first
My first design came purely out of habit, and it went like this:
- A WireGuard server on the Pi
- Port forwarding on the modem for
UDP/51820 - A DDNS record to deal with the dynamic IP
- Peer configs handed out to clients by hand
On paper that design is correct. It’s the natural conclusion of network thinking: there’s a service listening somewhere, and you open a path to it.
The problem
This design cracked in three separate places.
1. There was no port to open behind the modem
My ISP had CGNAT. In the modem’s admin panel the WAN IP address sat in the private 10.x.x.x range, which means the
modem was already behind a shared, private address. The port forwarding page looks like it works, but the port you open
never reaches the internet.
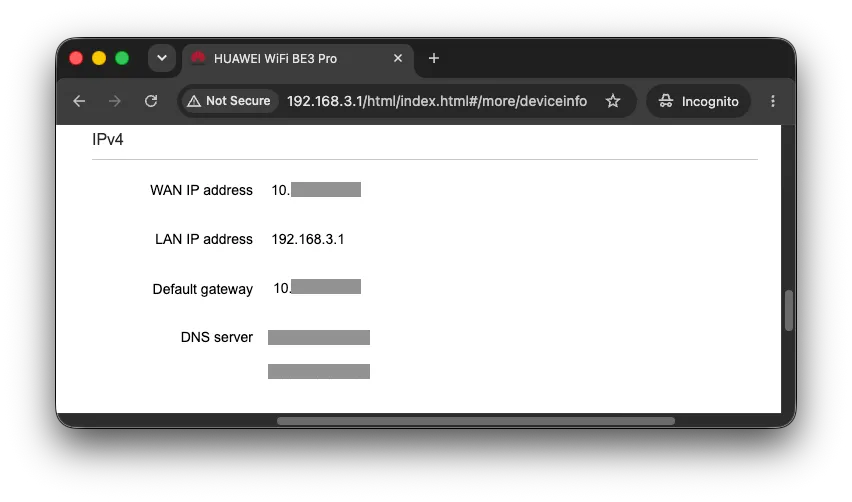
The classic way to confirm this is simple: compare the address the modem sees on its WAN side with the address you actually appear as from outside. At the same time, from a device at home:
curl ifconfig.me
# 5.47.x.x
The two addresses don’t overlap at all. What the modem calls its “WAN IP” is really an address inside the ISP’s own
network, and the address I actually reach the internet with is somewhere else entirely. That gap is direct evidence of
at least one more NAT layer between the modem and the internet, the classic sign of CGNAT. This address is the public IP
that mini (macOS) gets from its own ISP before touching the tailnet at all, and it is completely different from
78.177.x.x, the address pi (linux) shows up as on the direct connection later in this post: mini and pi aren’t
on the same network, they reach the internet through two independent exits.
2. The IP wasn’t static
DDNS solves that, but it adds one more dependency: a blind spot between the moment the IP changes and the moment the DNS TTL runs out.
3. The part that really bothered me was the architecture
Even without CGNAT, the port I opened would have been a listener exposed to the entire internet. A port forwarding rule doesn’t look at identity, it only looks at the packet. You hand access control over to whatever authentication that service happens to ship with.
If you frame the problem as “how do I open a port”, the answer is always going to be a hole. The real question was this: why do I have to build the connection from the outside in?
What I tried and why I dropped it
| Approach | Why it didn’t work / why I dropped it |
|---|---|
| DDNS + port forward | Never got off the ground, because of CGNAT. |
| Static IP from the ISP | Extra cost, and not always offered on a residential plan. It also doesn’t solve the problem, it buys it. |
| VPS + WireGuard relay | It worked. But a monthly bill, another server to maintain, and a single point of failure. |
| Cloudflare Tunnel | Good for HTTP services. But what I wanted was full tunnel plus exit node behaviour. |
| Tailscale | The one I went with. Mesh instead of the classic hub-and-spoke VPN: no central server tunnelling the traffic, nodes connect straight to each other. Nothing to open on the modem. |
What actually happens at the network level
Tailscale splits into two layers, and that split is familiar ground for a network engineer: control plane and data plane.
- Control plane: the coordination server. It knows who is in the tailnet, which node holds which public key, and which candidate endpoints each one has. It doesn’t carry your traffic.
- Data plane: WireGuard. Traffic flows directly between two nodes and is encrypted end to end.
Here is the critical part: every node reaches the coordination server from its own side, over an outbound connection. Outbound is the direction NAT already allows. So there is no port listening anywhere that has to be reachable from the outside.
So how do two sides behind NAT ever meet?
This is where NAT traversal comes in. The simplified flow:
- Each node discovers its own candidate endpoints: its local address, and how it looks from outside (a STUN-like discovery).
- Those candidates get passed to the other side through the coordination server.
- Both sides send a UDP packet to each other at the same time. Each NAT reads it as “an outbound connection my own user started” and opens the return path. This is hole punching.
- If the punch fails, traffic goes through a DERP relay server. The relay carries the encrypted traffic, it can’t read it; it’s only a courier.
I measured this on my own setup. Looking at pi (linux) from the mini (macOS) node, with pi selected as the exit
node on the macOS side, tailscale ping pi comes back as a real round trip rather than a self-ping, and the
tailscale status output shows the connection as direct. The traffic isn’t going through a DERP relay, it’s flowing
straight between the two nodes, through both NATs:

The active; exit node; direct 78.177.x.x:6381 line is the proof: pi is being used as the exit node and the
connection is direct, with no relay in between. A connection running over DERP would show relay here instead of
direct.
The final architecture, and what makes an exit node different
An exit node means a node in the tailnet advertises not just its own network but the default route. When a client picks that exit node, it sends all of its traffic there, and the node NATs it out over its own internet connection.
In network terms: inside the tailnet, the Pi becomes the next hop for 0.0.0.0/0 and ::/0.
Flip the switch below to compare the path the traffic takes, and the IP the outside world sees, with the exit node on and off.
Only the parts of the setup that matter
The step-by-step setup doc isn’t in this post, it’s in the repo. What I’m leaving here are the four settings that cost you hours when you don’t know about them.
Turning on IP forwarding
The Pi is going to act like a router. Ubuntu doesn’t do that by default.
# under sysctl.d so it survives a reboot
echo 'net.ipv4.ip_forward = 1' | sudo tee /etc/sysctl.d/99-tailscale.conf
echo 'net.ipv6.conf.all.forwarding = 1' | sudo tee -a /etc/sysctl.d/99-tailscale.conf
sudo sysctl -p /etc/sysctl.d/99-tailscale.conf
Advertising it as an exit node
sudo tailscale set --advertise-exit-node
sudo tailscale up
Advertising isn’t enough, it has to be approved from the admin console.
UDP GRO and TCP BBR for throughput on the Pi 4
With default settings the Pi 4’s routing performance comes out lower than you’d expect. Two separate settings make a serious difference.
Coalescing the UDP segments it receives:
sudo ethtool -K eth0 rx-udp-gro-forwarding on rx-gro-list offThis one is lost on reboot; making it stick needs a systemd unit or a networkd-dispatcher hook.
On top of that, switching the TCP congestion control algorithm from Linux’s default cubic to Google’s bbr improved
throughput noticeably as well. It’s meant to be used together with the fq (fair queue) qdisc:
# added to the same /etc/sysctl.d/99-tailscale.conf file
echo 'net.core.default_qdisc = fq' | sudo tee -a /etc/sysctl.d/99-tailscale.conf
echo 'net.ipv4.tcp_congestion_control = bbr' | sudo tee -a /etc/sysctl.d/99-tailscale.conf
sudo sysctl -p /etc/sysctl.d/99-tailscale.conf
Unlike GRO, this one already lives under sysctl.d, so it survives a reboot on its own. No extra unit or hook needed.
Key expiry
If an exit node’s key expires, the node drops off the tailnet, and you can’t sign it back in because you can’t reach it remotely any more. For nodes in a server role the usual choice is to turn key expiry off (Expiry disabled or set up an OAuth / auth key strategy).
What worked
- Not a single rule changed on the modem. The port forwarding page stayed completely empty, and that was the most satisfying part of the whole thing.
- The dynamic IP just isn’t a problem any more. Nothing anywhere is tied to an IP address.
- Tried it on Android, iOS, Windows and macOS clients, no difference in behaviour.
- Thanks to MagicDNS I reach machines by name instead of by IP.
Where it falls short
Upload bandwidth became the ceiling
Everything you download through the exit node has to come back out through your home connection’s upload speed. Most of the time the Pi 4’s capacity isn’t even the bottleneck; the home link’s upload fills up first.
Trade-offs
| What I gained | What it cost me |
|---|---|
| No open ports | A dependency on a third-party coordination service |
| No static IP needed | My identity provider is now part of my access path |
| Identity-based access | Getting the ACL right is on me |
| Going out through my home IP | Traffic traceable back to my home IP: control, not anonymity |
| Low cost | One Pi is one single point of failure |
That row about the home IP deserves underlining: this setup is not a replacement for a commercial VPN. A commercial VPN exists to hide where you’re coming from; the point here is to push your traffic through an exit you trust. Those are two different problems.
What I’d do differently from the start
- I’d write the ACLs on day one. Adding them later drops you straight into the “get it working first, tighten it later” trap.
- I’d make the GRO setting persistent on day one too; some of my performance numbers came out wrong because it wasn’t.
What I learned
What this build actually taught me wasn’t a command, it was a change of frame.
Remote access turned out to be an identity problem, not a topology problem. Opening a port asks “is this packet coming from the right place”. What I wanted to ask was “is this device mine”.
I’d also spent years treating NAT as an obstacle to get around. But NAT traversal doesn’t break NAT’s rule, it uses it. The outbound connection was allowed all along; all that happens is both sides step out at the same moment. There’s still no door open anywhere! Both sides just walked out of their own, at the same time.